
Authority Soccer (authoritysoccer.com) is a participant in the Amazon Services LLC Associates Program, an affiliate advertising program designed to provide a means for sites to earn advertising fees by advertising and linking to Amazon.com. This site also participates in other affiliate programs and is compensated for referring traffic and business to them.
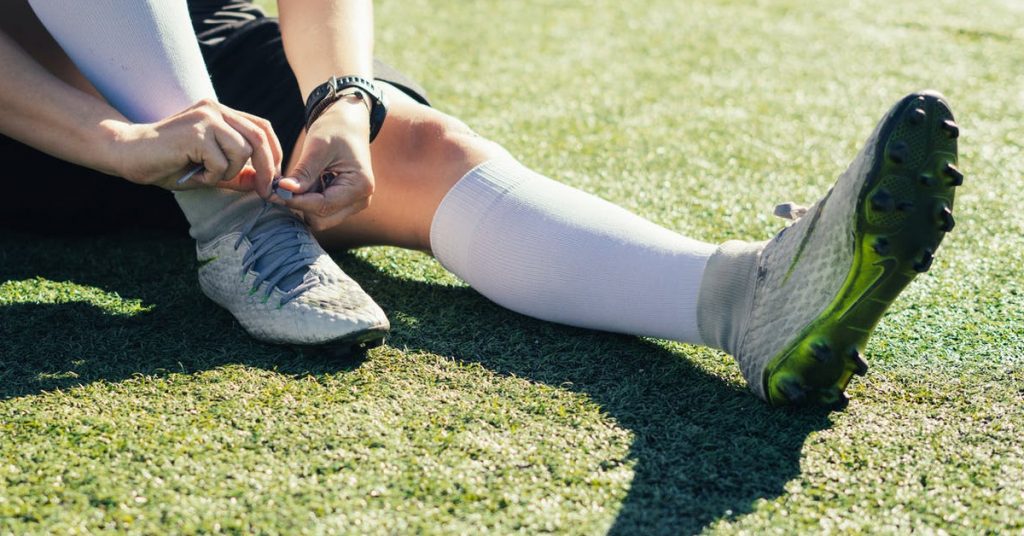
There’s no better feeling than getting your feet into a new pair of soccer cleats and hitting the field.
The only thing that can ruin this experience is the disappointment of the cleats feeling wrong, even though they fit perfectly when you first tried them. How does this happen?
Before active use, most soccer cleats that are made of leather need to be broken in. This process allows your new soccer shoes to form to your foot and feel more comfortable.
What this means is that the process of breaking in new soccer cleats ensures is that the cleats feel comfortable and leave your feet blister-free, even after prolonged use.
The process of breaking in soccer cleats is pretty easy. Following the set of directions listed in this article, you can ensure that your new soccer cleats provide you with maximum enjoyment and performance that comes with the proper breaking-in process. Enjoy the reading!
Do you need to break in soccer cleats?
Buying a pair of soccer cleats that is too loose is dangerous, as it can easily lead to an injury to your ankles.
Getting a pair that is too tight usually doesn’t lead to severe injuries, but it can be very uncomfortable to your toes and blister-prone areas of your feet.
Choosing the right size is the number one priority when buying new soccer cleats. If you go for the ones that are too big or too small, your feet will definitely suffer.
As most soccer players know, soccer cleats are the most important part of your gear, so choosing wisely when picking out a new pair is a must.
When buying a new set of soccer cleats, you need to ensure that the shoes fit comfortably; They shouldn’t be too tight, nor should they be too loose.
You should be able to wiggle your toes while wearing the shoes, but there shouldn’t be too much movement overall. Picking out the right size mostly comes with experience.
Even after choosing the right size, your new soccer cleats might be causing you issues while wearing them. Most of the time, the main issue with new cleats is painful blisters. This issue is resolved using the breaking-in process.
While some shoes might be the perfect fit right out of the box, the majority of soccer cleats require the player to break them in.
The main sign on the cleats needing breaking in is if they’re causing pain despite being a proper fit. Players who find themselves stuck with these shoes don’t need to worry: The process of breaking in soccer cleats is fairly simple and straight-forward, as you’re about to read:
How to break in soccer cleats
The first step in buying new soccer cleats should always be researched. Using the Internet, you’ll be able to quickly find relevant information on any potential buys you have in mind.
The key information you should be after is the cleats’ build quality, whether the sizing is true, and long-term use reviews.
Once you find the right model, it’s time to purchase it. After going out, or going online, and getting the shoes, one would think that all that’s left to do is go out and play soccer.
However, there’s one process left to do – the breaking in of the new soccer cleats. In this section of the article, we will go through the entire process of breaking in your new soccer cleats.
The process involves several steps and a few basic items that everyone has around the house.
What you’ll need is a bucket, some hot water, a towel, petroleum jelly or Vaseline, as well as some free time. Here’s how you break in new soccer cleats:
Step 1: Get a bucket full of hot water
The first step in breaking in your new soccer cleats is getting a bucket and filling it with hot water. Any container that is big enough for your cleats to be fully submerged in can do if you don’t have a bucket.
A bathtub can also be your best friend if you don’t have any containers. The water you’re using needs to be hot, but not hot enough to cause any injuries to your hands and feet that are about to be in it, or hot enough to dissolve glue from the soccer cleats.
Use your best judgment and don’t pour water that would be too hot to bathe in.
Step 2: Lace up the soccer cleats and soak them
As soon as your vessel is filled with hot water, step two should begin. Put a pair of socks that you usually wear when playing soccer on, then put on the shoes and lace them up.
This process should be done as per usual; lace up the shoes as you normally would for a game or a practice session. After properly lacing up the new soccer cleats, submerge your feet in the hot water.
While submerged, massage the sides of the cleats for 20 minutes, ensuring that all of the air that is held inside is gently released.
This process should make the shoes fit your feet perfectly. After a while, air bubbles will stop coming out to the surface, which is the sign you should be looking out for to stop massaging and get your soaked feet out of the bucket, dish, or bathtub and move on to the next step.
Note: Before moving on to this step, make sure that you have a bigger towel ready nearby. You’ll see in the next step why you’ll be needing it.
Step 3: Coat the soccer cleats with Vaseline or Petroleum Jelly
While still wet and uncomfortable, lay the towel down and take the soccer cleats off. Place the cleats on the towel; you’ll need a different one for your feet.
Grab the Vaseline (this is the product most experts recommend for breaking in soccer cleats) and cover the instep and the outside of both shoes thoroughly. Rubbing in the material, as well as wiping off any excess that remains after the rubbing is a must.
This process has the goal of making the leather of the soccer cleats softer and more workable. It also ensures that the leather doesn’t crack, as well as allows for a significant increase in mobility.
Step 4: Stretch the soccer cleats
For this step, your new soccer cleats still need to be wet, but, following the previous step, they’ll also be greasy and kind of gross.
Still, you’ll need to put them on. Pro tip: Take them outside in order not to make a mess in your living quarters.
After getting to an area you can afford to ruin, but the soccer cleats on. You can wear a dry pair of socks if it feels more comfortable than the wet one you have from step two, but you definitely need to have socks on.
Lace the shoes up as you normally do and just start walking. Even though they are wet and it feels wrong, you need to start walking.
Walking around on a lawn or on a field is the best way to do it. After a few minutes of walking in your new soccer cleats, move on to jogging. After a few minutes of jogging, you can move on to your regular footwork exercise and drills.
Make sure that you don’t stop moving for the first ten minutes. You should keep moving with the cleats on for the rest of the day, or until they start to feel dry, or at least drier.
Step 5: Drying time for new soccer cleats

After a while, walking, running, and performing drills in wet soccer cleats can get old. Make sure you had them on for at least a few hours, remove your soccer cleats, and let them rest.
The resting process is fairly simple; get some old newspapers, stuff your cleats with them, and leave them to dry.
Even though letting your shoes dry in direct sunlight or next to a heat source might seem like a good idea and a faster way to get this step done, it should be avoided at all costs.
Both direct sunlight and heat can cause the leather to crack, or they can make it more prone to cracking.
Once dried, there’s one more thing you can do to ensure that the leather doesn’t crack: Use a leather polish or a leather conditioner on the soccer cleats once they are completely dry. This step is our definite recommendation, but it isn’t a must.
Step 6: Time to practice
The final step in the process of breaking in new soccer cleats is the one that most soccer players will find to be the most enjoyable: Make sure that you use your new soccer cleats every day, for a few weeks.
In order for them to be conditioned properly, new cleats should be used for at least 20-30 minutes per day over the course of a couple of weeks.
This step in the process ensures that the shoes are slowly getting used to the conditions of constant exploitation that they’ll face in the upcoming years of use.
Using them for half an hour over the period of time specified above doesn’t only allow you to get used to them, but it will also expose any faults in your new soccer cleats.
Any potential blisters that show up can be dealt with by putting Vaseline on them.
How long do soccer cleats take to break in?
As evident from everything mentioned above, it takes a few weeks to break in new soccer cleats. Let’s break down the process and see how much time each of the individual elements takes to complete:
- The soaking portion of the breaking-in process for new soccer cleats takes up to an hour. This includes the time it takes to fill the bucket with water, as well as the time required for soaking. As explained in the process, the soaking should last until no air bubbles are seen, which can be highly variable.
- The rubbing portion of the breaking-in process for new soccer cleats is probably the shortest event of the first day; it takes no more than 20 minutes, or as long as it takes you to rub Vaseline on the shoes thoroughly and wipe the excess off.
- The stretching portion of the breaking-in process for new soccer cleats is a fairly long one, and it can take the rest of the day (taking you’ve started the process in the morning), or as long as your patience allows it to last. As noted in the text above, the shoes should be worn until they dry out significantly.
- The drying portion of the breaking-in process for new soccer cleats usually takes one night, or as long as takes for the shoes to get completely dry.
- The final portion of the breaking-in process for new soccer cleats is to wear them for a few weeks until you get used to them and they get used to the stress of active wearing. This is the longest part of the process, but it’s a necessary one that can’t be skipped if you want your new leather soccer cleats to fit perfectly.
Even though the entire process of breaking in new soccer cleats takes just a few hours of active time on the wearer’s part, it is a process that takes a couple of weeks to complete to a satisfactory level.
If you decide to start it, no shortcuts should be taken, and the process should be completed in its entirety as described in this guide.
The process is in no way mandatory, especially if the soccer cleats you buy feel comfortable and you’re having no issues (such as blisters and tightness) with them.
If, however, you buy leather cleats we recommend you go through the process of breaking them in; your blister-free feet will thank you.